Best Spots for Home Security Cameras and Where to Avoid Them
Find the right heights and angles for home security cameras, avoid glare and privacy pitfalls, and learn which spots provide useful footage.
You’ve just installed a new security camera system and are staring at the blank monitors, wondering if the devices will actually see anything useful. The first thing you notice is the empty corners and the glare from the front porch light that makes the image look washed out. You need concrete guidance on where to point each lens so the footage captures real activity and not empty space.
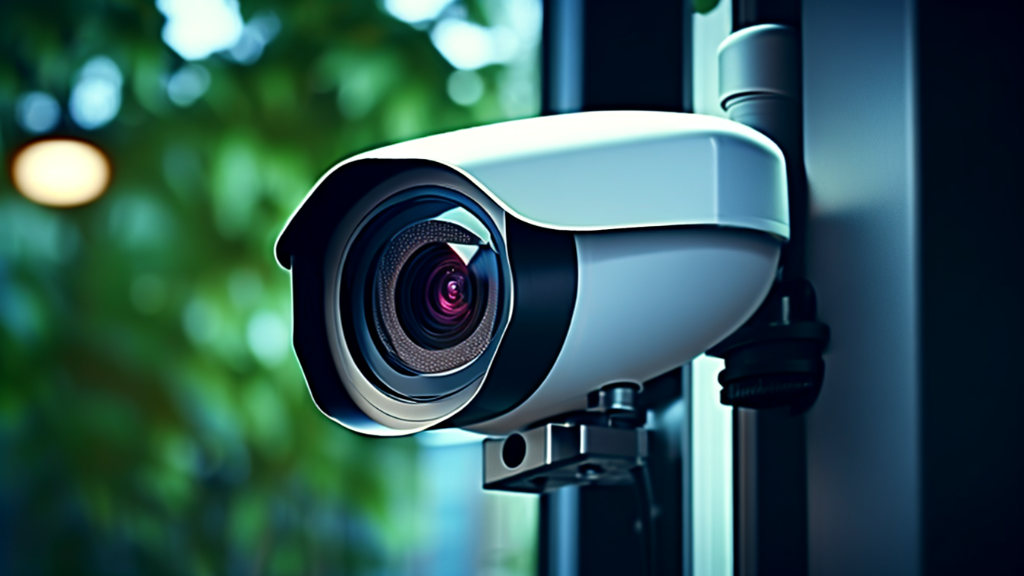
The most effective locations are directly above or slightly beside each primary entry point, angled down between 30 and 45 degrees, and mounted at a height of about eight to ten feet. This angle gives a clear view of the door or gate while keeping the camera out of easy reach. Position the lens so the top of the frame includes the door handle and the bottom shows the doorstep. For windows that face the street, place the camera inside looking out, but keep the lens a few inches away from the glass to reduce reflections.
Height matters because a lower mount invites tampering and limits the field of view, while a very high mount can create blind spots at the base of doors. A height of eight to ten feet balances security and coverage, allowing the sensor to capture faces and license plates without excessive distortion. Angle the camera so the line of sight sweeps across the entry area rather than staring straight at it; a slight downward tilt reduces the chance of a person standing directly under the camera disappearing from view.
Glass surfaces introduce a common problem: reflected light can flood the sensor, producing a blank or overexposed image. To mitigate this, use a small offset from the glass and point the camera slightly away from direct sunlight. If the camera must be mounted on an exterior glass door, consider using a matte anti‑glare film on the glass or a small hood to shield the lens. Avoid placing cameras directly opposite bright streetlights or reflective surfaces, as the sensor will struggle to differentiate moving objects from glare.
Privacy with neighbors is a legal and ethical consideration. Aim the camera’s field of view to stay within your property lines, stopping the frame before it reaches a neighbor’s yard or windows. If a camera must cover a shared driveway, tilt it just enough to capture the driveway without spilling over into adjacent properties. In many jurisdictions, recording beyond your own premises can be considered an invasion of privacy, so keep the coverage tight and focused on your own entry points.
Common blind spots arise when cameras are placed too close to walls, under eaves, or behind decorative elements. A camera mounted behind a balcony railing may have its view obstructed by the railing itself, creating a narrow corridor of visibility. Similarly, mounting a camera on a low balcony can result in a lot of sky in the frame, reducing the resolution of ground‑level activity. Ensure there is a clear line of sight from the lens to the target area, and avoid positioning the camera where foliage, signage, or structural elements block the view.
Finally, balance coverage with storage and bandwidth constraints. A wider field of view captures more area but can dilute detail, requiring higher resolution settings to maintain clarity. Narrower angles focus on a specific zone, delivering sharper images but leaving other parts unmonitored. Decide which approach matches your security goals: comprehensive perimeter monitoring or focused entry‑point surveillance. Adjust motion‑trigger settings to record only when activity occurs in the most critical zones, conserving storage while still providing useful evidence.
By following these placement principles—choosing the right height, angle, and distance from glass, respecting neighbor privacy, and avoiding structural obstructions—you’ll get clear, actionable footage that can deter intruders and provide reliable evidence if needed.
Entry Points and Doorways
The most vulnerable spots in a home are the front door, back door, garage entry, and any side gates. Position a camera directly above the lintel or on the door frame, ensuring the lens is centered on the door knob and the surrounding threshold. A downward angle of 30 to 45 degrees captures anyone approaching, opening, or closing the door while keeping the camera out of easy reach. For sliding doors, mount the sensor on the interior side of the door, a few inches away from the glass, to avoid reflections and to keep the view focused on the exterior approach path. Remember to keep the field of view within the property line to avoid recording neighbors.
Height and Angle Considerations
Mounting height directly influences the camera’s ability to capture facial features and vehicle plates. A height of eight to ten feet provides a balance between reach and detail, preventing tampering while allowing the sensor to view the entire entry area. The angle should not be too steep; an angle that is too vertical will miss people standing near the base of the door, while a shallow angle may create a distorted perspective. Aim for a 30‑45 degree downward tilt, which maximizes the visible area of the doorframe and the adjacent walkway. Adjust the tilt based on the specific dimensions of the entry point and the surrounding landscape.
Dealing with Glass and Light Reflections
Glass surfaces reflect sunlight, streetlights, and interior lighting, often washing out the image. To reduce glare, place the camera a few inches away from the glass and angle it slightly off‑center, so the lens does not point directly at the light source. Applying a matte anti‑glare film to the glass can also help by diffusing reflected light. If a camera must be mounted on an exterior glass door, consider a small hood or a recessed mount to shield the lens. Additionally, avoid positioning cameras directly opposite bright streetlights or reflective metal surfaces, as these create hotspots that can blind the sensor.
Privacy Boundaries with Neighbors
Legal frameworks in many regions prohibit recording beyond the boundaries of your own property. When aiming cameras at driveways or shared pathways, tilt the lens just enough to capture the area of interest without spilling over onto neighboring yards or windows. Use physical barriers, such as fences or walls, to define the camera’s line of sight, and regularly review the recorded footage to ensure no private activities of others are captured. Respecting privacy not only keeps you compliant with the law but also maintains good relationships with neighbors, which can be crucial for community safety.
Common Mistakes That Render Footage Unusable
A frequent error is mounting cameras too close to walls, under eaves, or behind decorative elements, which creates blind spots and obstructed views. Cameras placed behind balcony railings or low overhangs often have their field of view partially blocked, resulting in footage that misses critical activity. Similarly, mounting a camera too low leads to excessive sky in the frame, reducing the resolution of ground‑level details. Ensure a clear line of sight from the lens to the target area, and keep the camera at a height that captures both the upper and lower portions of the entry zone without obstruction.